
Basemapkit: let's explore the mountains!
Spice up your map with hillshading and bumpy terrain 🏔️

This is the second article about Basemapkit, my basemap library for Maplibre. You can find the first article here. GitHub repo here.
Hello there 👋,
In the past few days, mainly during holidays, I worked on this Basemapkit project to add some mountains 🏔️.
Depending on who is doing it and for what purpose, adding mountains to a basemap can consist of a few things:
Find some terrain data (raster DEM)
Add some hillshading
Bump the surface of the map to display actual 3D mountains
Add a few peak labels
Add some contour lines with elevation labels
In my opinion, a map focused on outdoor activities or anything that has a relation with the terrain elevation (geology, archeology, architecture, urban planning, etc.) should include most of the above. That being said, Basemapkit is a late-evening project, and some bits will only come later.
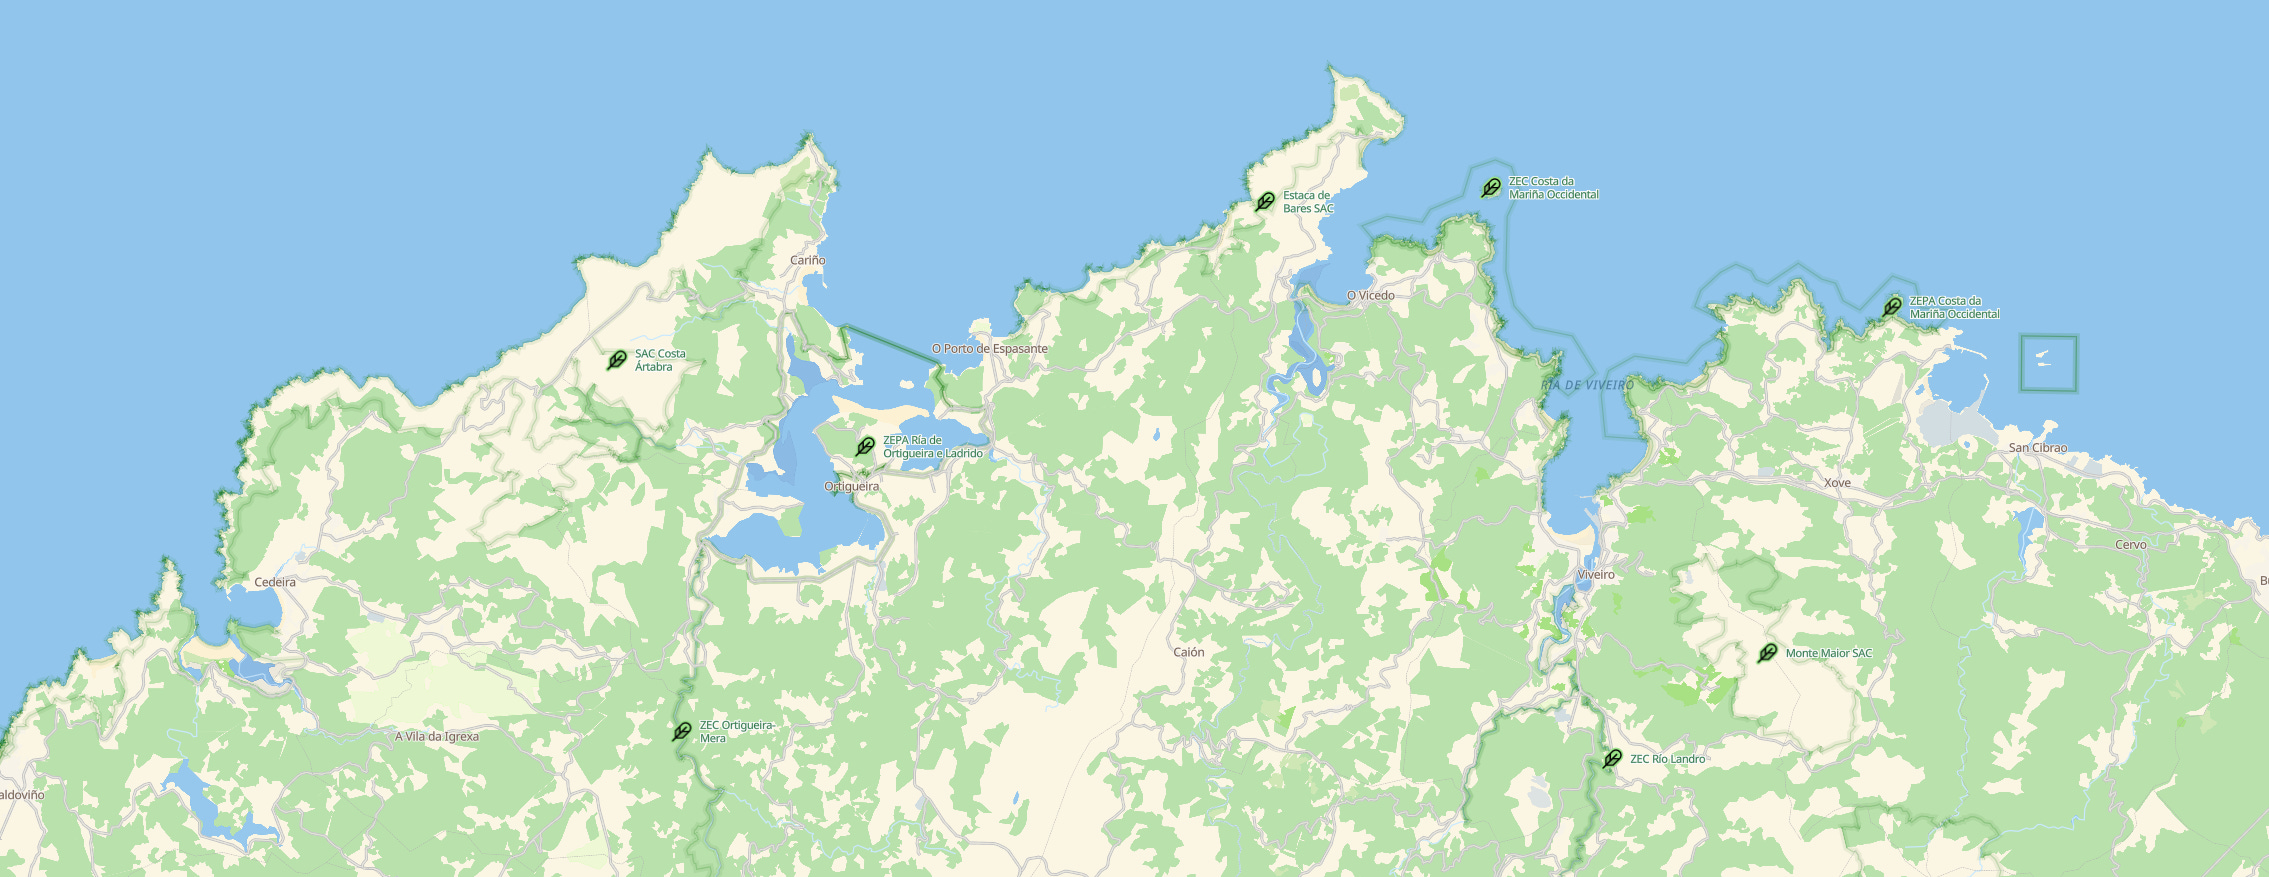
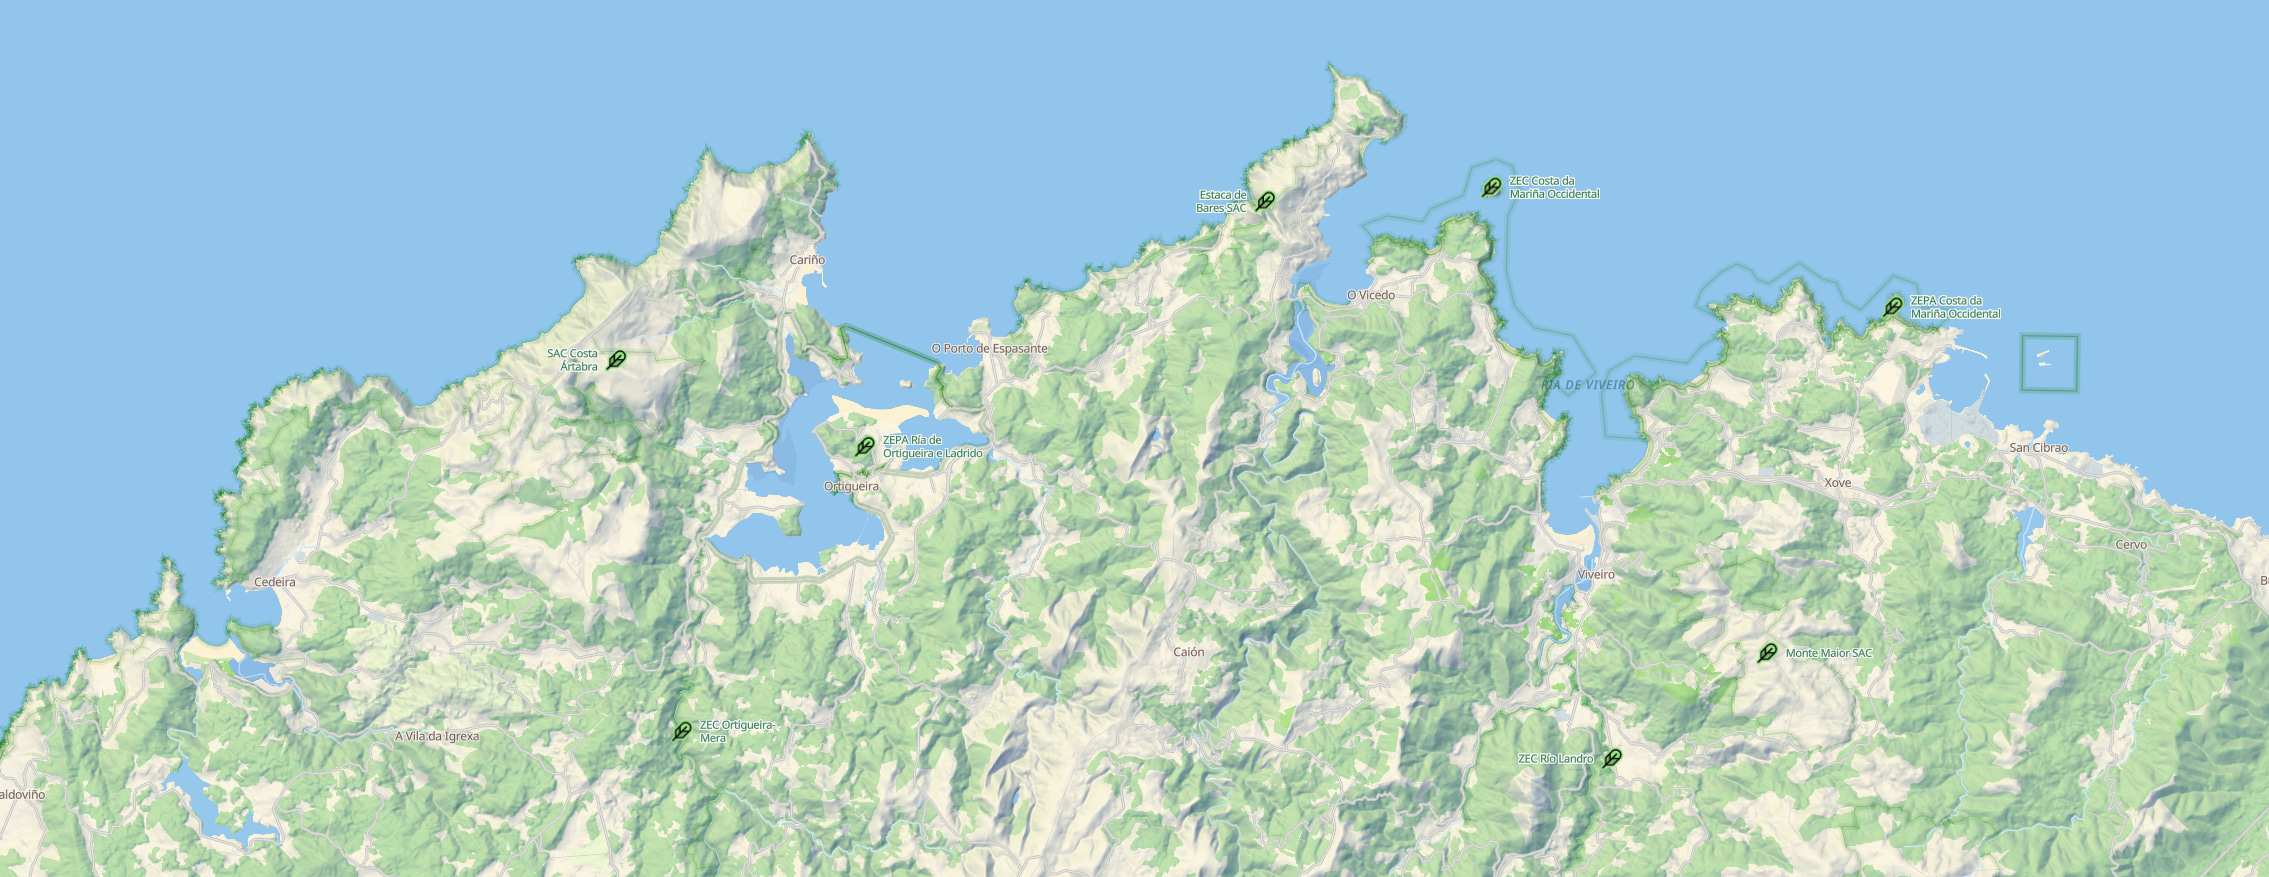
Before jumping into more details, can we all agree that a map with nice hillshading will 99% of the time look better than a map without?
Here is another interesting example, somewhere in Japan:


The information that this is not a plain or meadow but is instead a FREAKING VOLCANO could have also been solved using elevation isolines, but they are generally more difficult to read to an untrained eye (but I love to combine the two).
The terrain data source
Looking for DEM data sources is honestly a bit overwhelming! There are so many of them, all encoded in different ways, projected with the local official CRS, some include bathymetry, and others don’t. And if we want to have terrain data over multiple countries, this is even more complex as you’d have to combine multiple sources and deal with what’s happening at the border!
For instance, here is the official French open data for the terrain, BD ALTI, It’s great, go use it! But if you want to combine it with the Swiss equivalent, SwissALTI3D, you’ll have to make sure there are no weird bumps and gaps along the French-Swiss border, and that’s actually not trivial.
The alternative is to use the patchwork already done by knowledgeable people! For Basemapkit, I focused on two existing projects:
Mapzen terrain tiles. It’s a patchwork made out of many data sources done by Mapzen a few years ago. It’s super nicely done, the seams are basically invisible, and it also includes bathymetry. The resolution is OK without being amazing (up to z10), but when I converted it to terrain RGB tiles, it’s already 55GB. I made a pmtiles version you can download here (“mapbox” encoding, webp rasters).
Mapterhorn tiles. This project is in active development by Oliver Wipfli and aims to provide high-resolution terrain data globally. As of writing these lines, the 350GB global dataset covers the entire world up to z12 and is based on Copernicus GLO-30 (meaning 4x sharper than Mapzen). Oliver also released a separate package for Switzerland (from z13 to z17) and has obtained funds to continue working on a large part of Europe. All the datasets are packed in pmtiles files (“terrarium” encoding, webp rasters). Quite a fantastic project, that could be seen as the successor of the Mapzen terrain dataset.
Mapterhorn is sharper, while Mapzen is smaller to host and has bathymetry, so it’s a matter of preference and usage. In my case, I find it difficult to go back to Mapzen after having tasted the crispiness of Mapterhorn!
I personally use Hetzner Cloud for bucket storage, and the first 1TB costs 5 euros per month. If you do that too, you could fit a whole Protomaps planet build, plus the whole Mapterhorn global terrain, and you’d still be using only 50% of your included storage. Just saying. For web apps that do not need global coverage, the pmtiles CLI can chop an extent, resulting in much smaller files!
How I wanted it
With Maplibre, adding a terrain DEM source automatically makes it available for both hillshading and 3D terrain bumping. In my opinion, the 3D terrain is valuable beyond the wow effect only in some very specific cases. I would qualify it as “unnecessary most of the time” and should only be used with a terrain exaggeration of 1. (still fun to have)
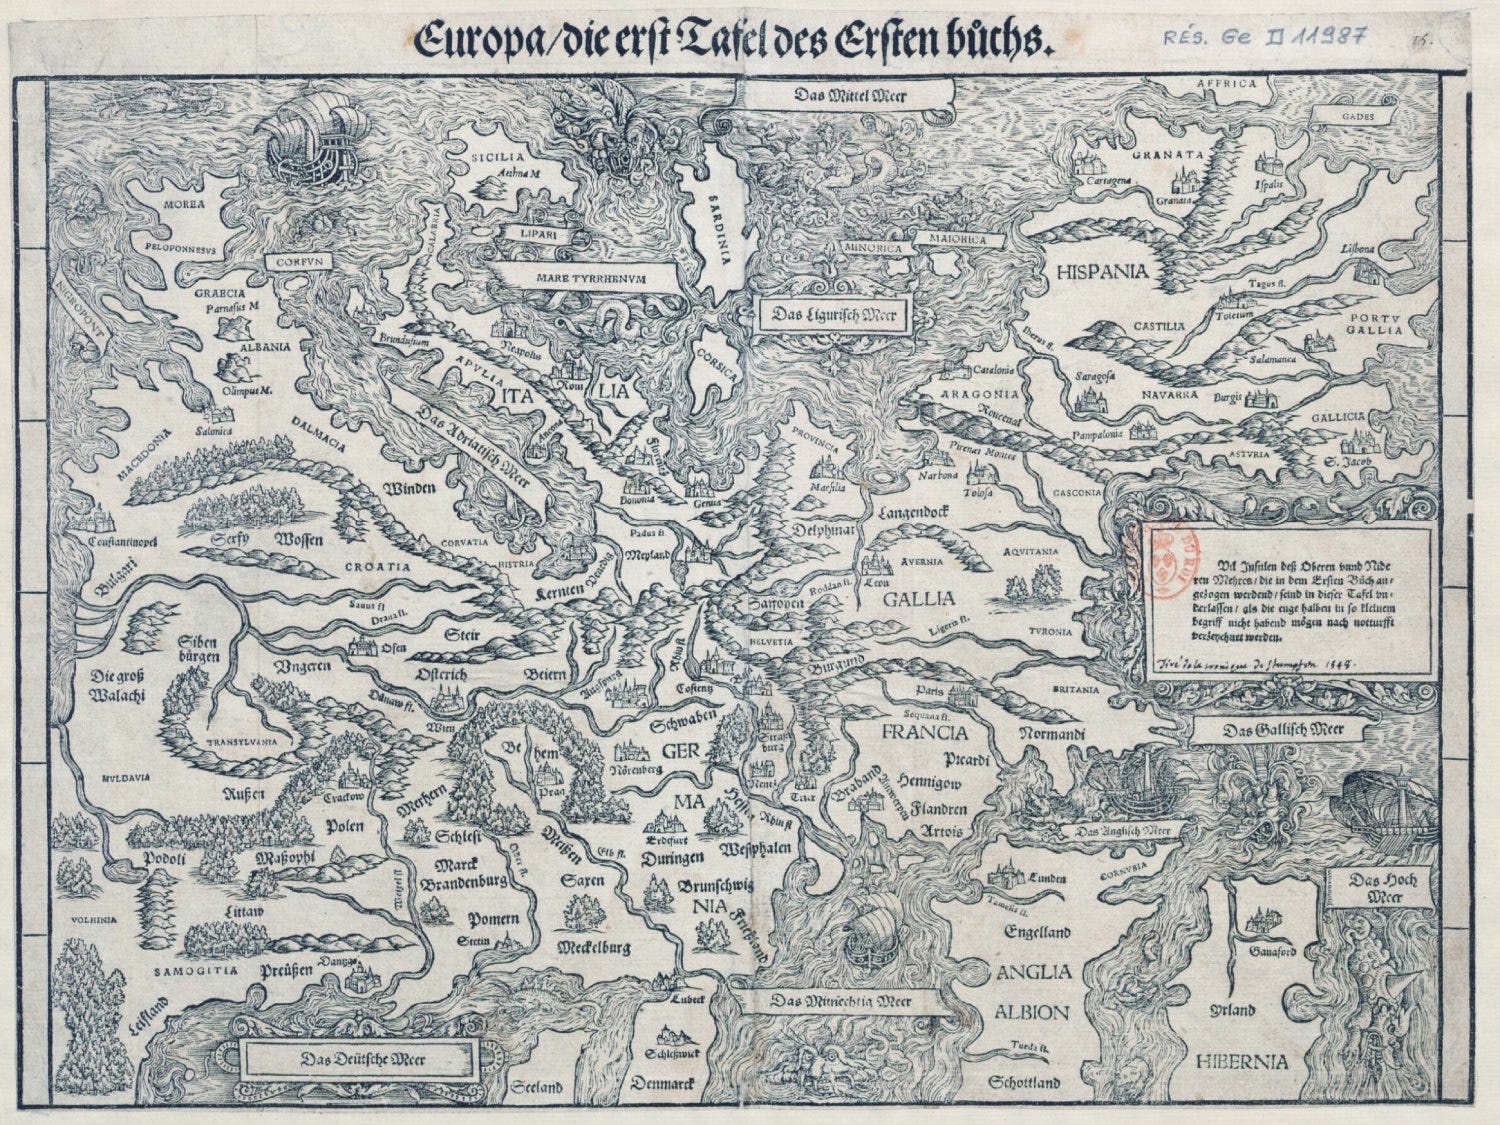
As per hillshading, that’s another story. There has been hillshading in one form or another on mountainous maps for literally centuries.
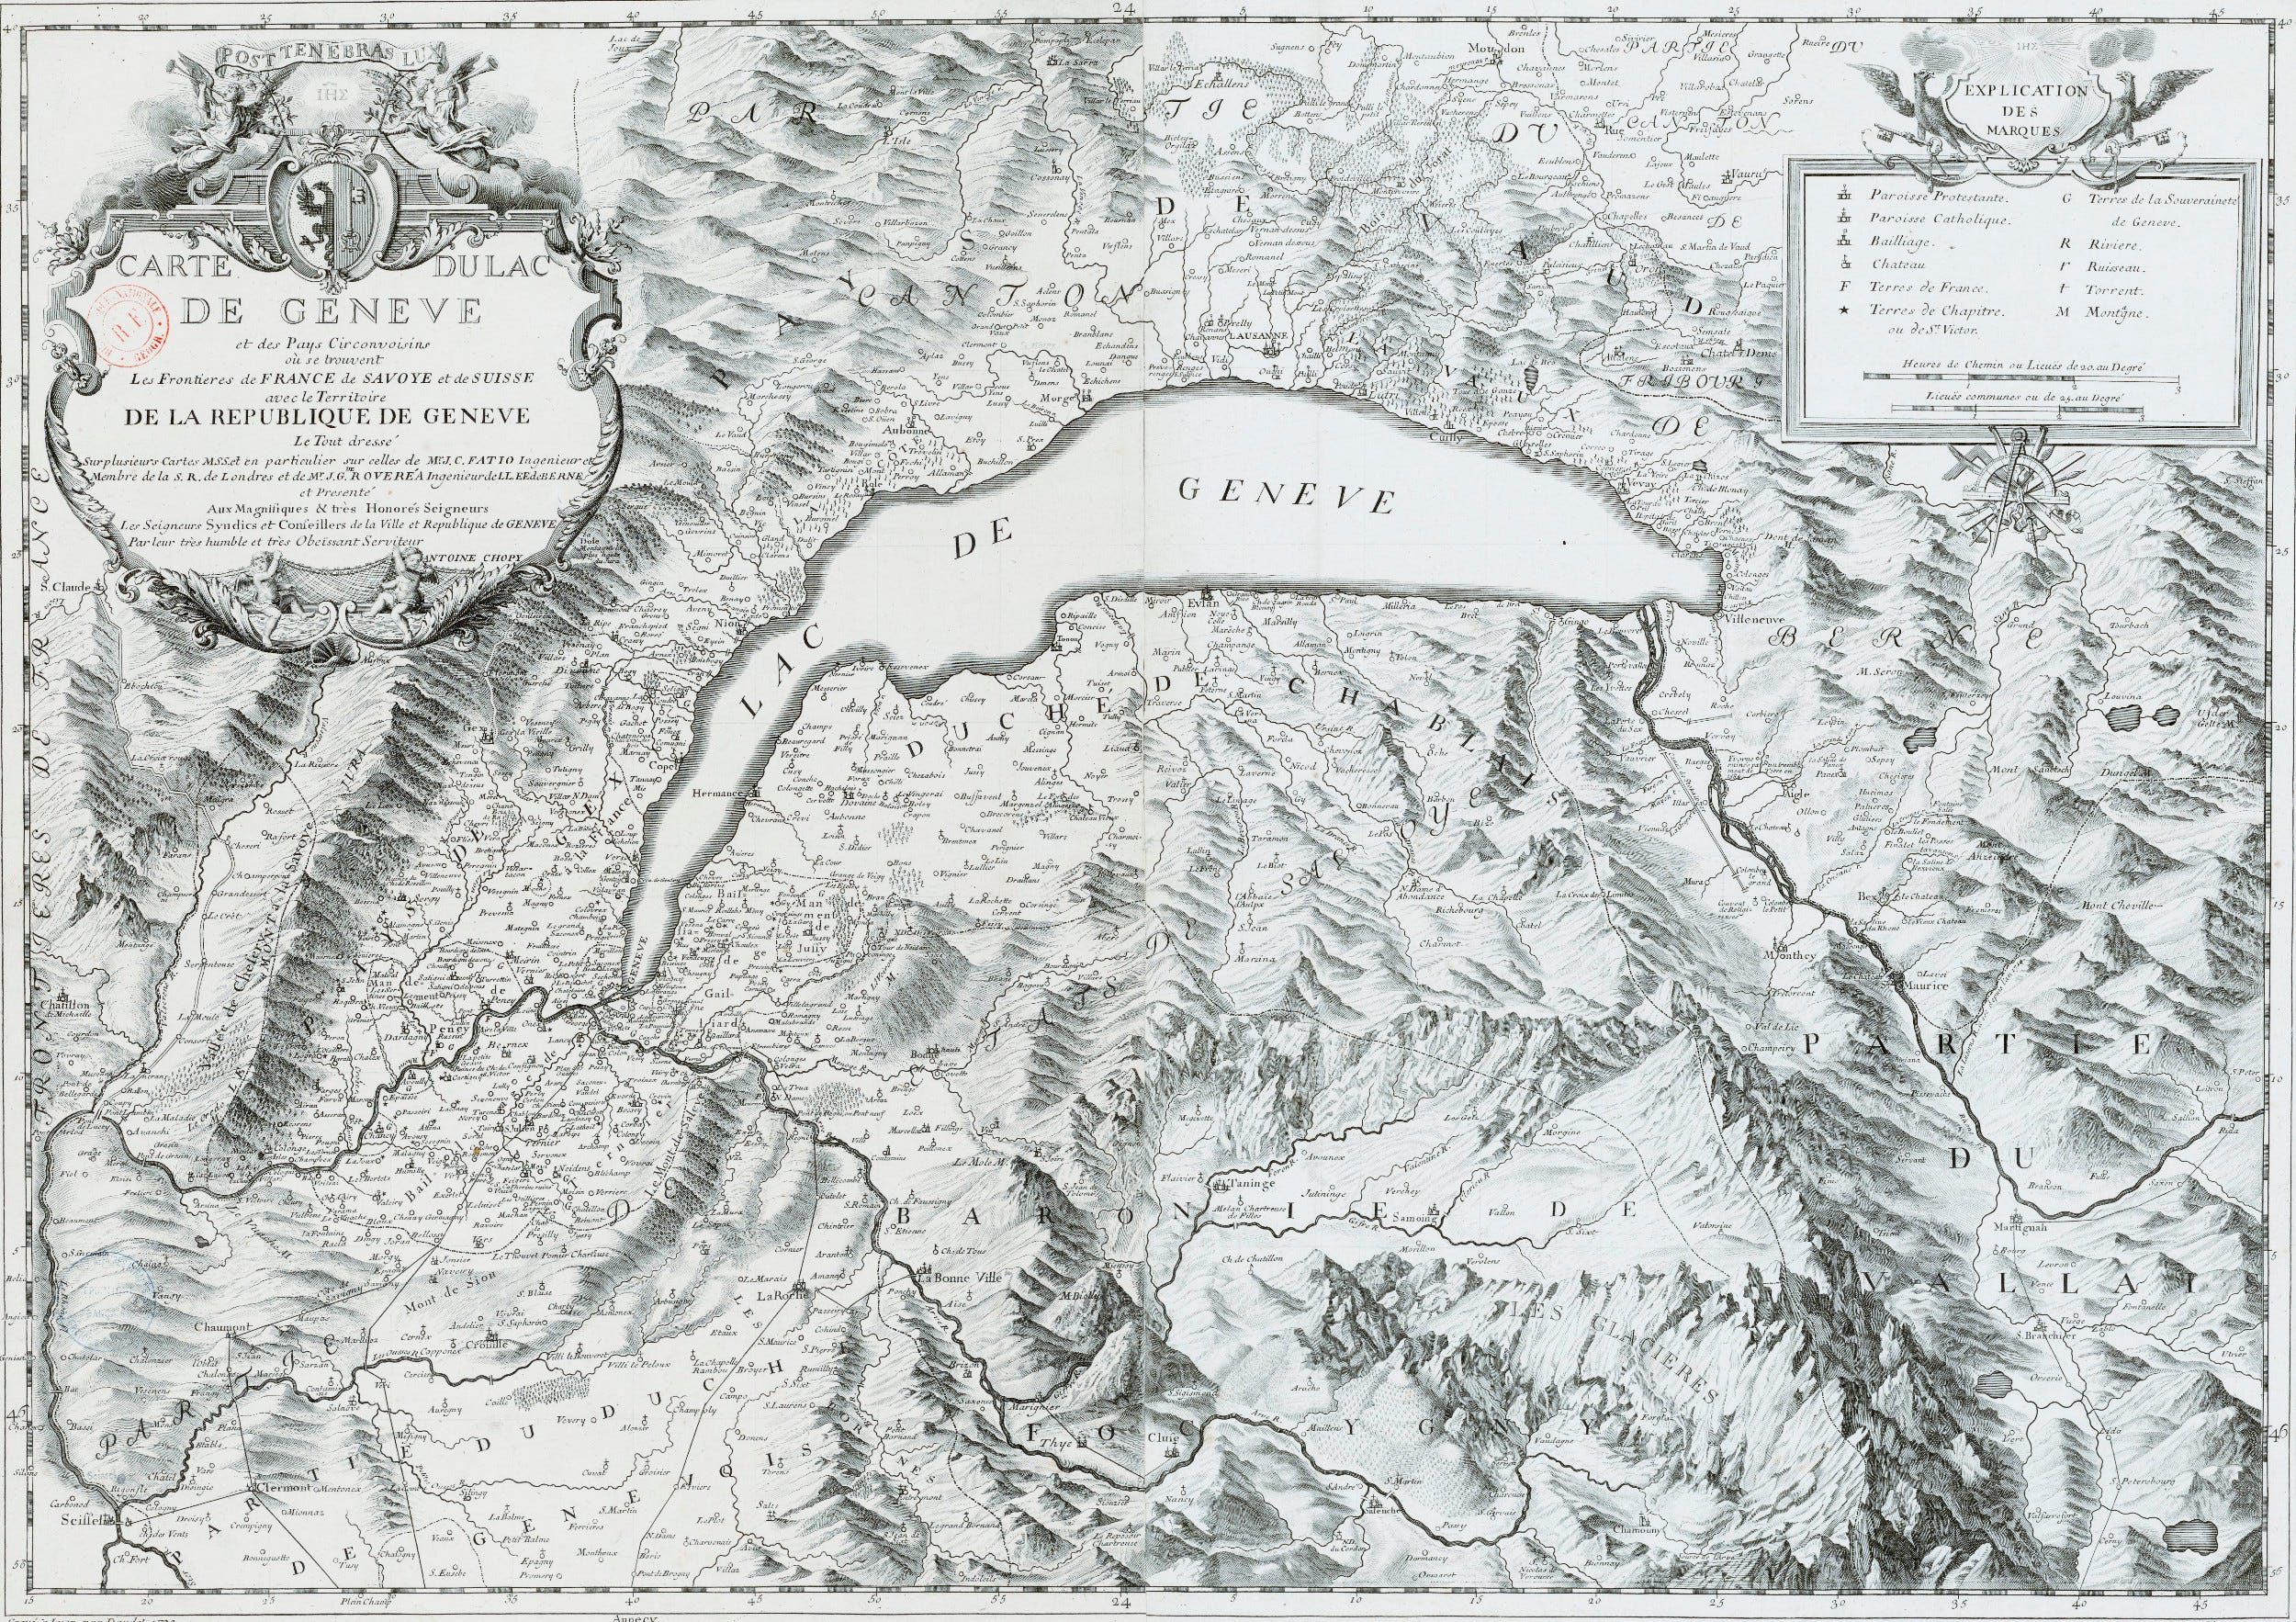
And there are many ways to create them: shadows, with or without drop-shadows, hatching, crosshatching, with realistic light direction, or always from top-left, etc.
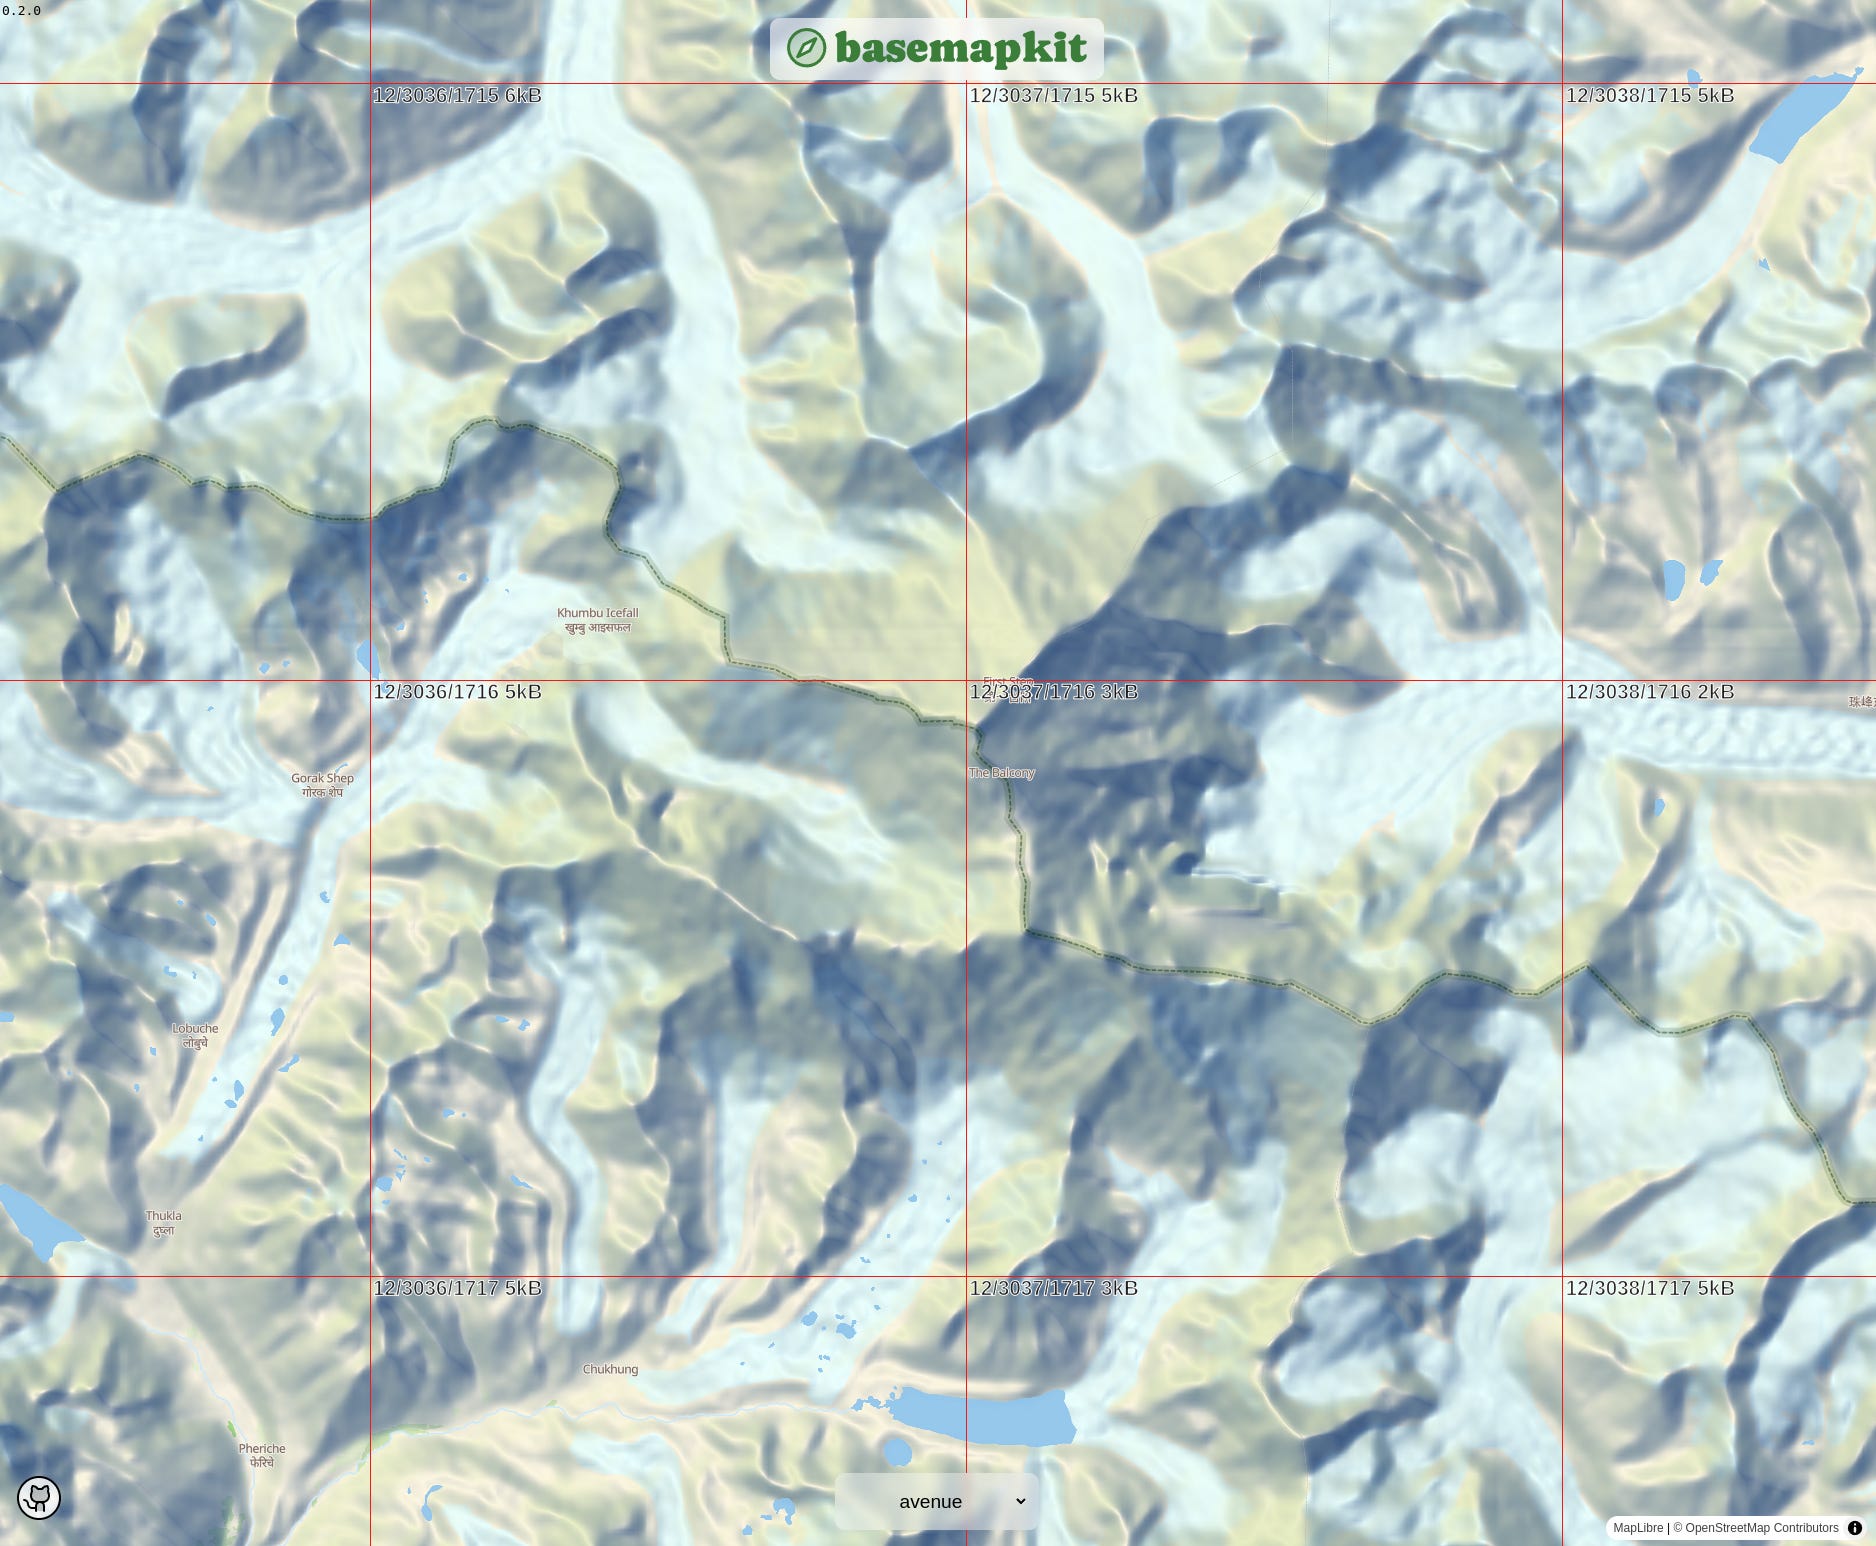
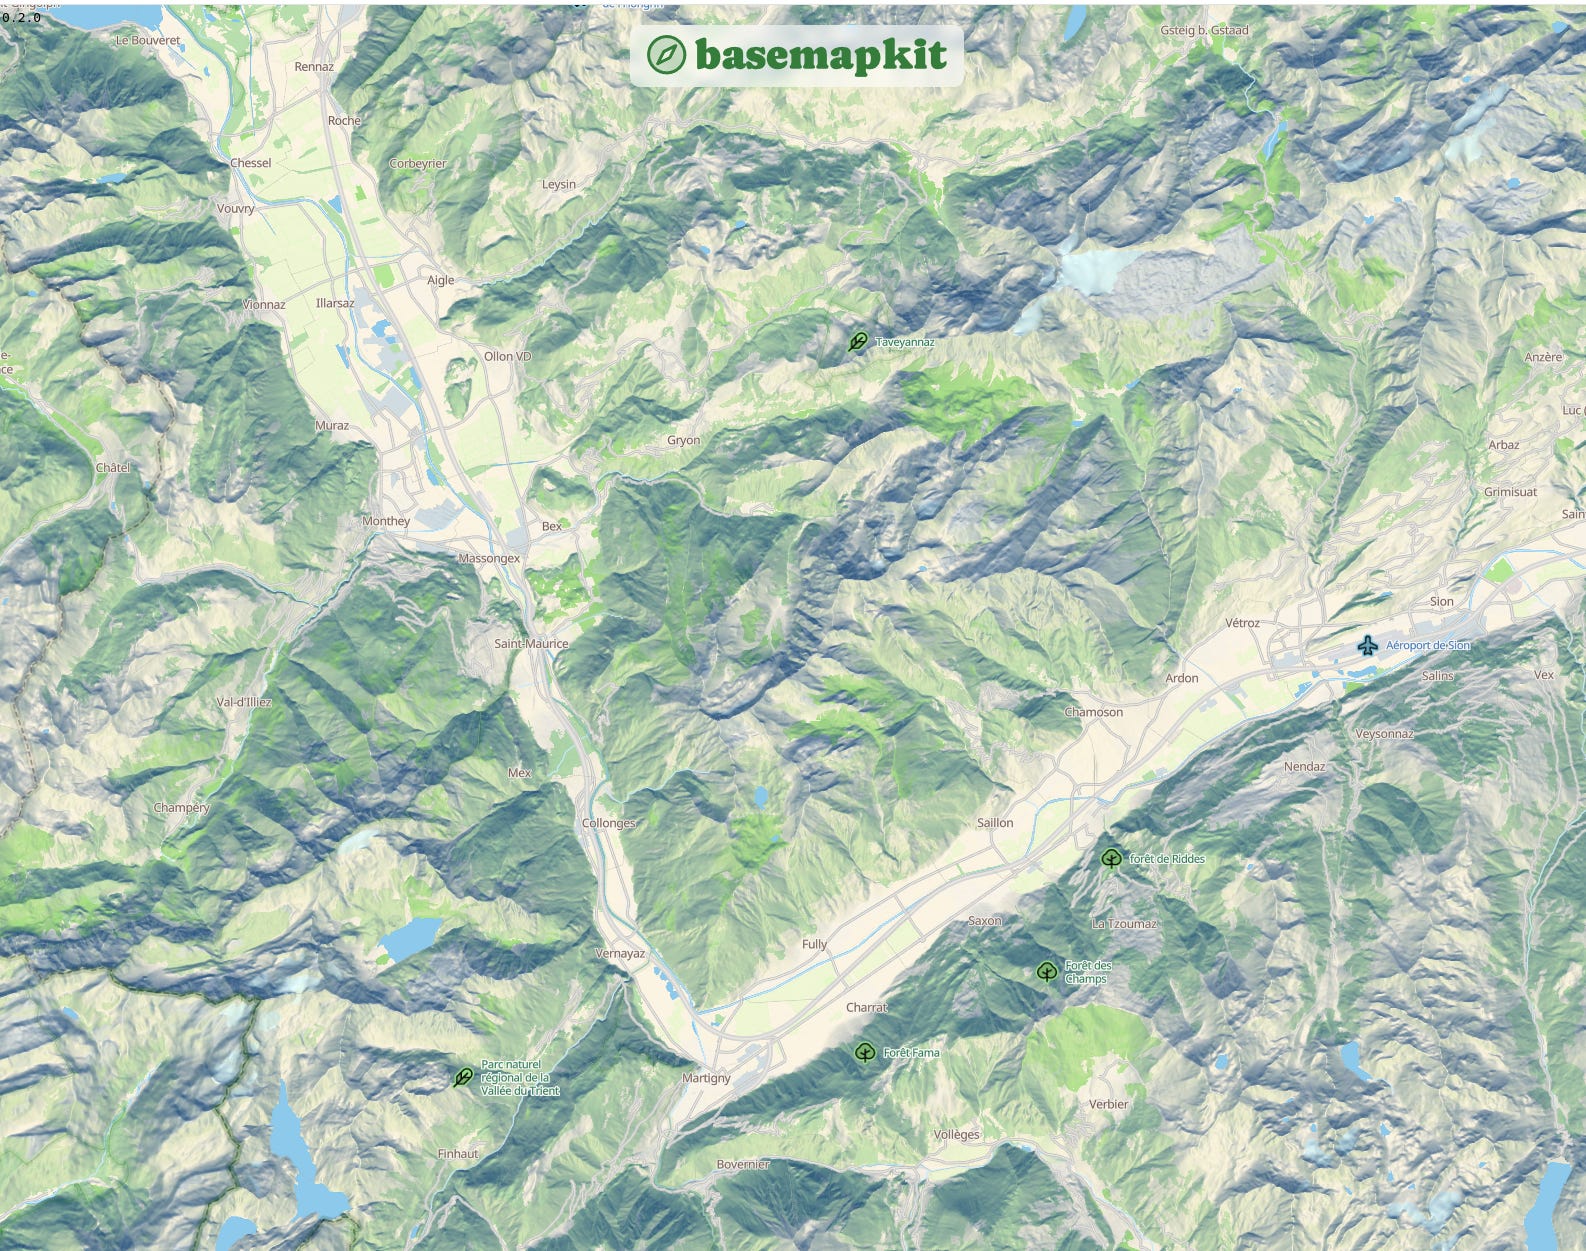
In Maplibre, we are given the choice of the light direction. I wish it clicked better in my brain when I see a realistic light direction (meaning sun beams are coming from the south when in the northern hemisphere). Yet, I cannot deal with such nonsensical shadow orientation:
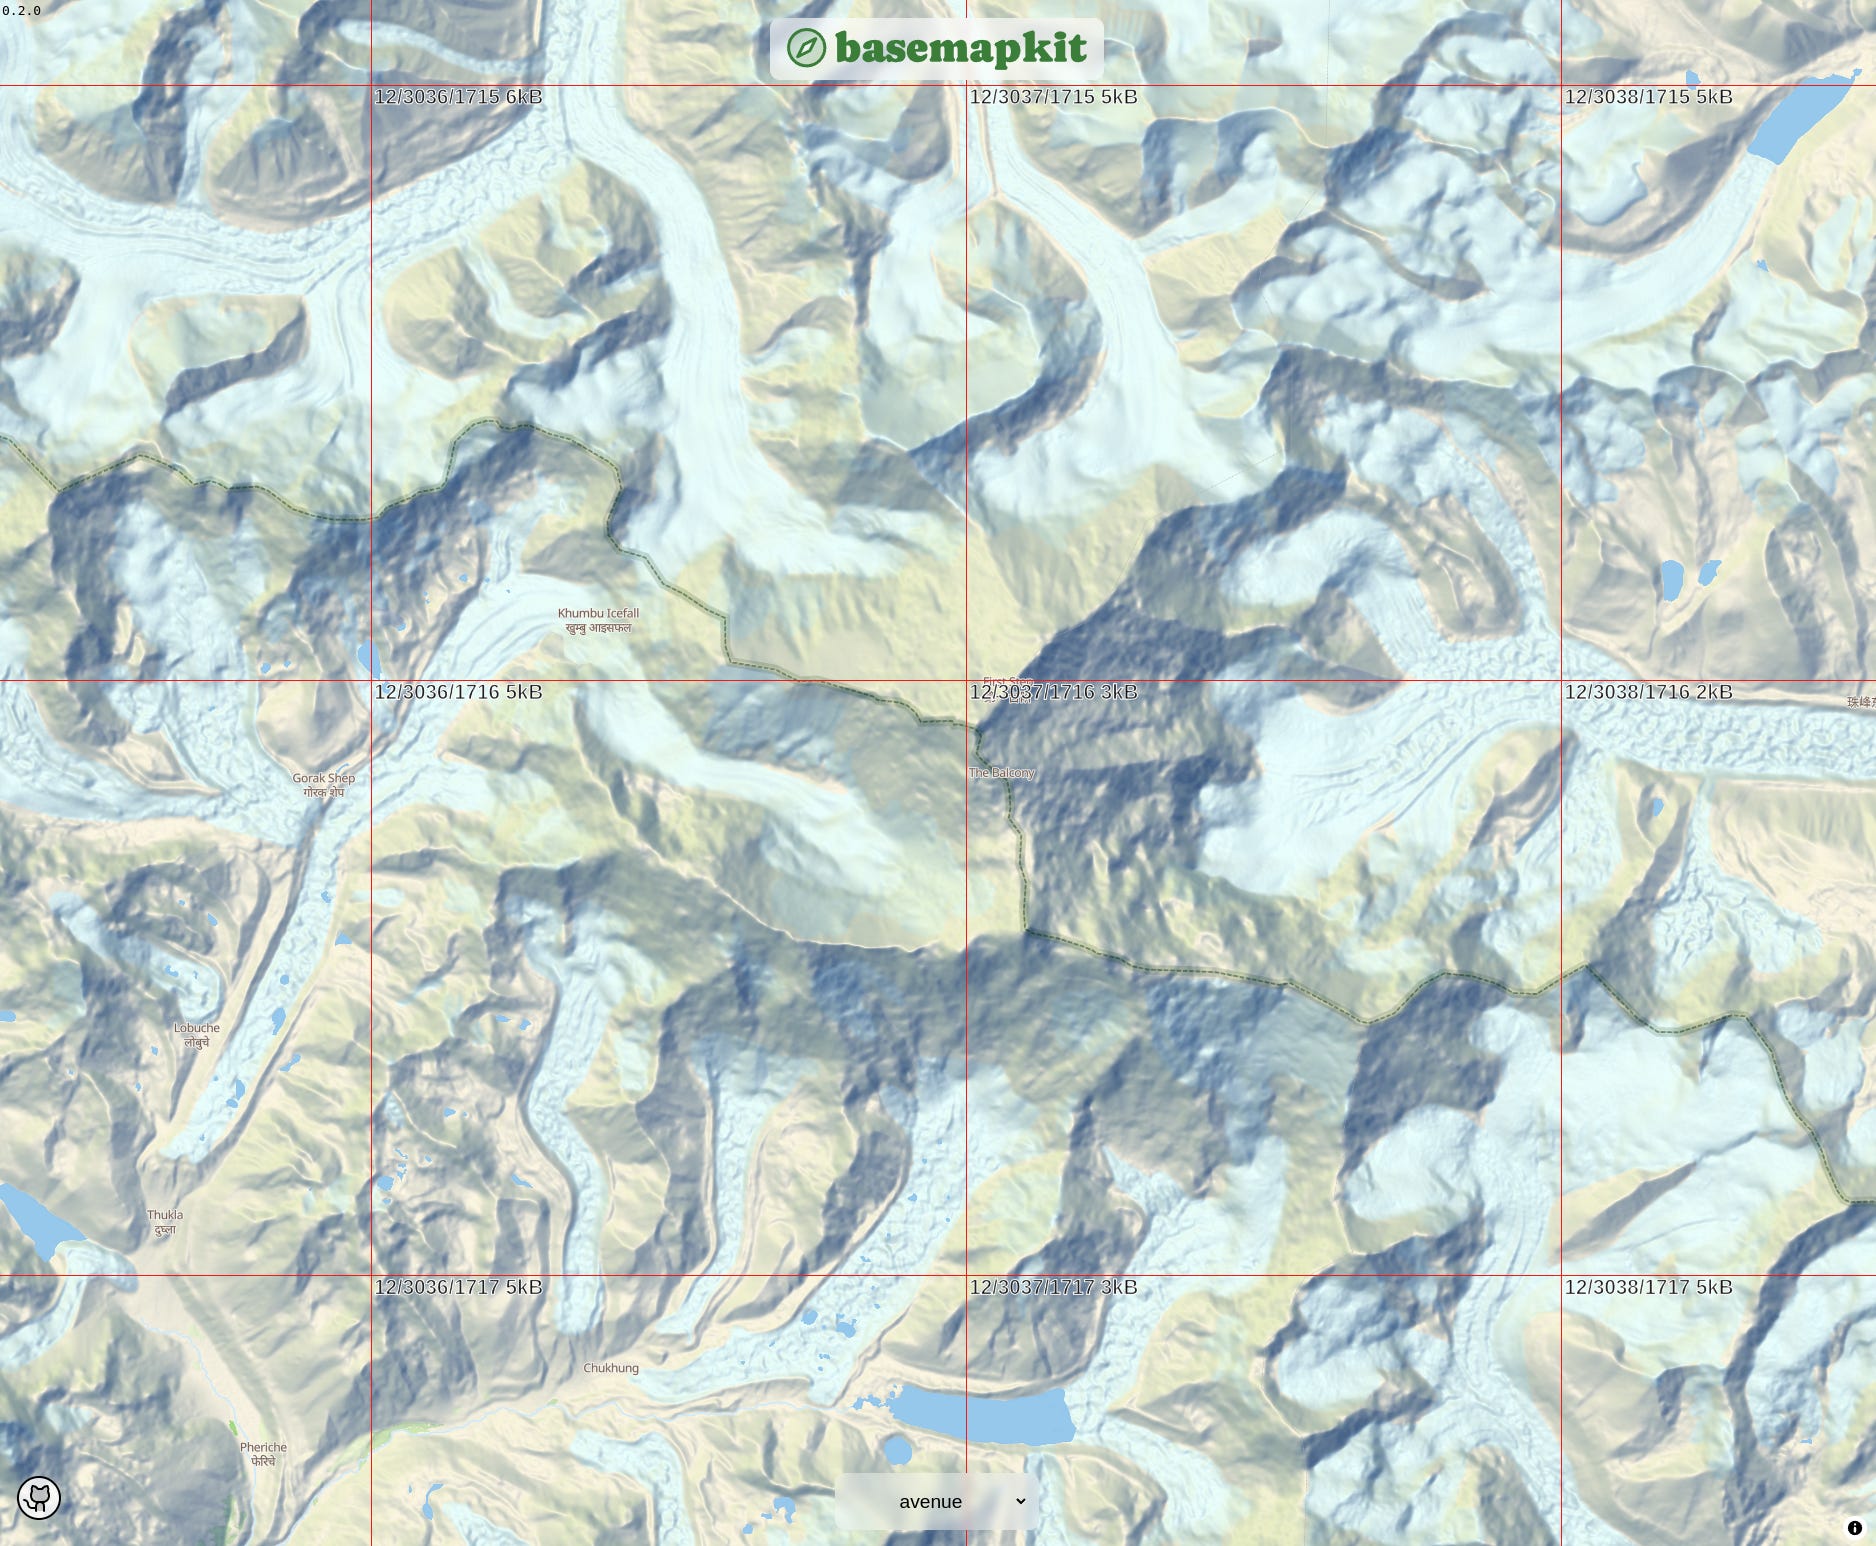
And I feel like I’m not the only one because every single map with hillshading I have seen features light beams coming from NW. This makes close to zero good sense if we think of it, and yet it looks much better to my eyes:
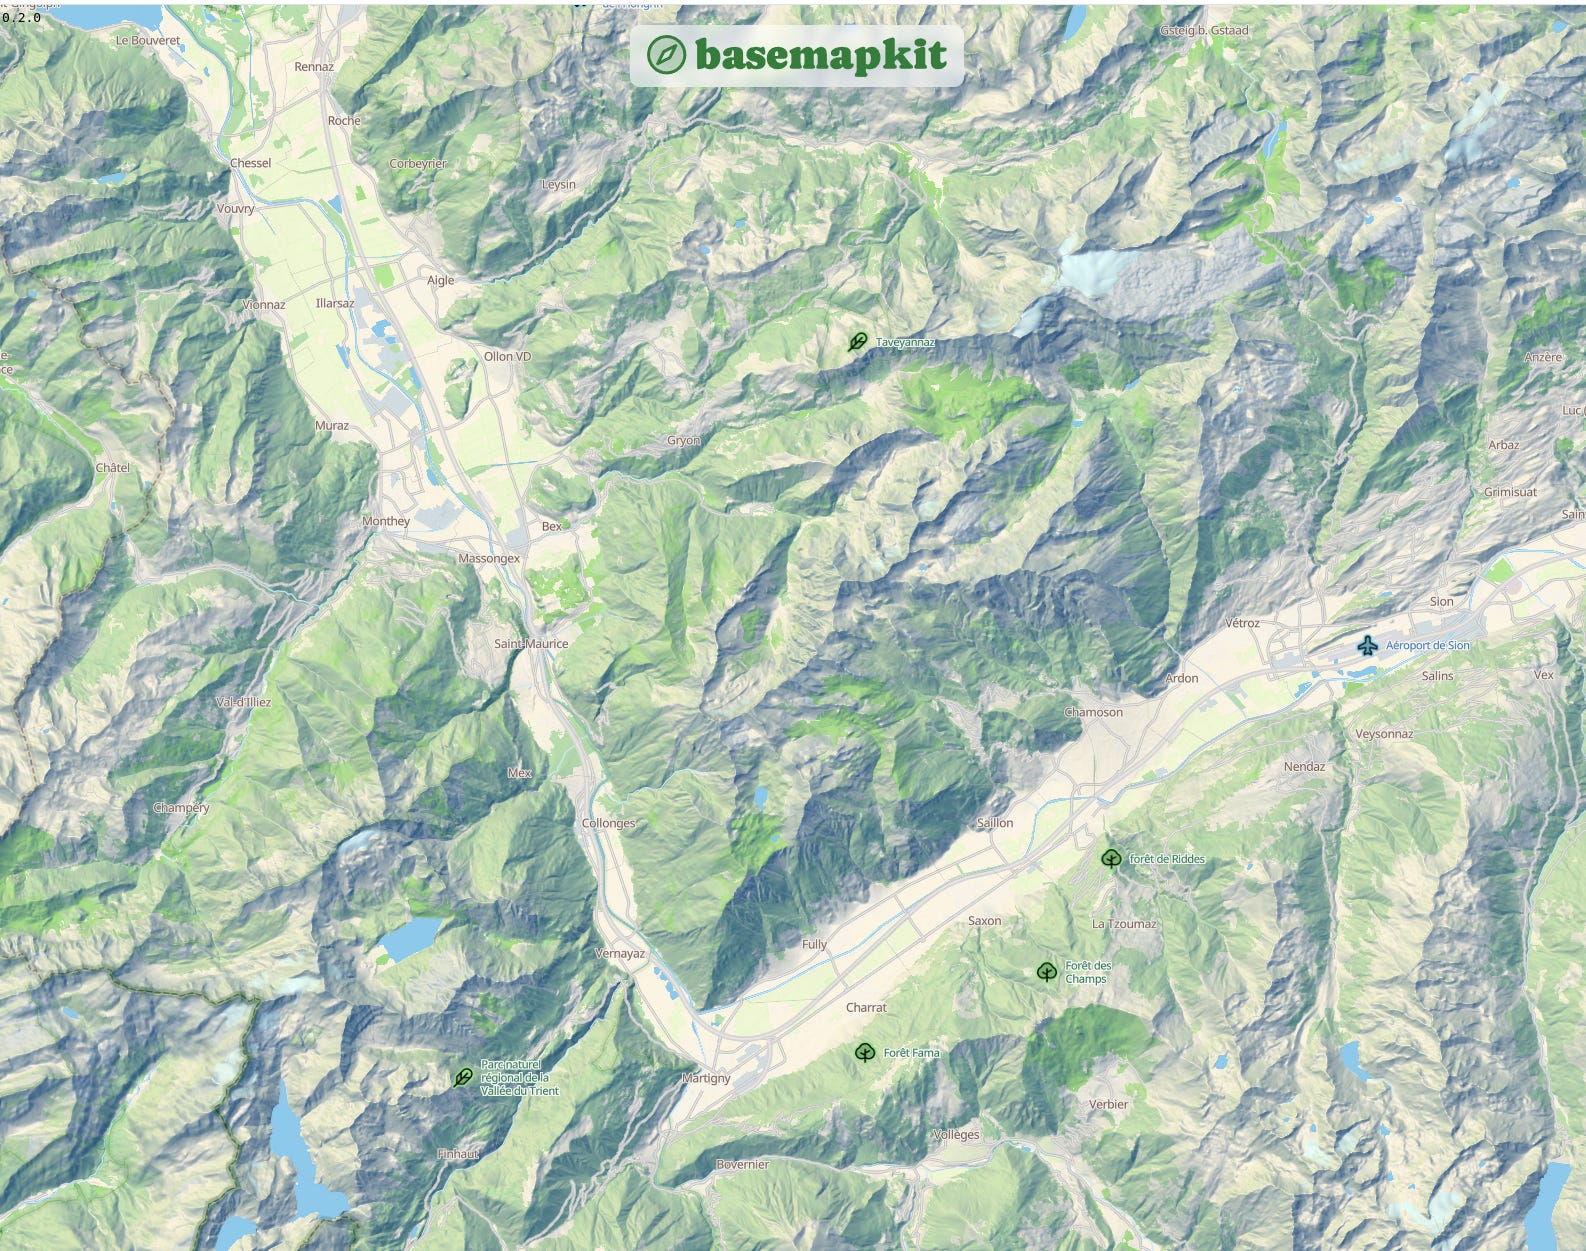
As a result, I have decided to do just like everyone else and use a light direction of 310°, namely from NW.
As per the light colors, I used:
dark blue shadows (
#123161) instead of neutral gray/black. Just like in most paintings and illustrationspale yellow highlights (
#fff0b3) to add a bit of warmth to a generally rather cold basemappartially transparent bright blue accent (
rgba(0, 184, 255, 0.65)) and since it’s only the accent color, Maplibre uses it mostly on the upper parts of ridges and very mildly, so it’s fine.


How to configure terrain in Basemapkit
If you have tried Basemakit already, this will be quite straightforward; otherwise, it is quite simple too.
Make sure you have the latest version of Basemapkit:
npm install basemapkit@latestAnd then in your TypeScript file:
// TypeScript

import "maplibre-gl/dist/maplibre-gl.css";

import maplibregl from "maplibre-gl";
import { Protocol } from "pmtiles";
import { getStyle, getStyleList } from "basemapkit";

// Adds the Protomaps protocol:
maplibregl.addProtocol("pmtiles", new Protocol().tile);

// Build the Basemapkit style
const style = getStyle(
// One of the main syle:
"avenue",
{
  // URL to the pmtiles
  pmtiles: "https://my-s3-bucket.com/planet.pmtiles",

  // URL to the sprites (for POIs)
  sprite: "https://raw.githubusercontent.com/jonathanlurie/phosphor-mlgl-sprite/refs/heads/main/sprite/phosphor-diecut",

  // URL to the glyphs (for labels)
  glyphs: "https://protomaps.github.io/basemaps-assets/fonts/{fontstack}/{range}.pbf";

  // Language (you can ommit to use the platform language)
  lang: "en",

  terrain: {
    pmtiles: "https://my-s3-bucket.com/terrain.pmtiles",
    encoding: "terrarium",
  }
});

// Instantiate the Map:
const map = new maplibregl.Map({
  container: "map",
  center: [0, 0],
  zoom: 3,

  // Add the Basemapkit style:
  style,
});
So here, the new part compared to the previous version is the terrain block, and you can find more details about the extra options and the settings in the GitHub readme.
One thing to keep in mind is the encoding. It can be “terrarium” (like the Mapterhorn dataset), or “mapbox” (like the Mapzen dataset).
Cheers!